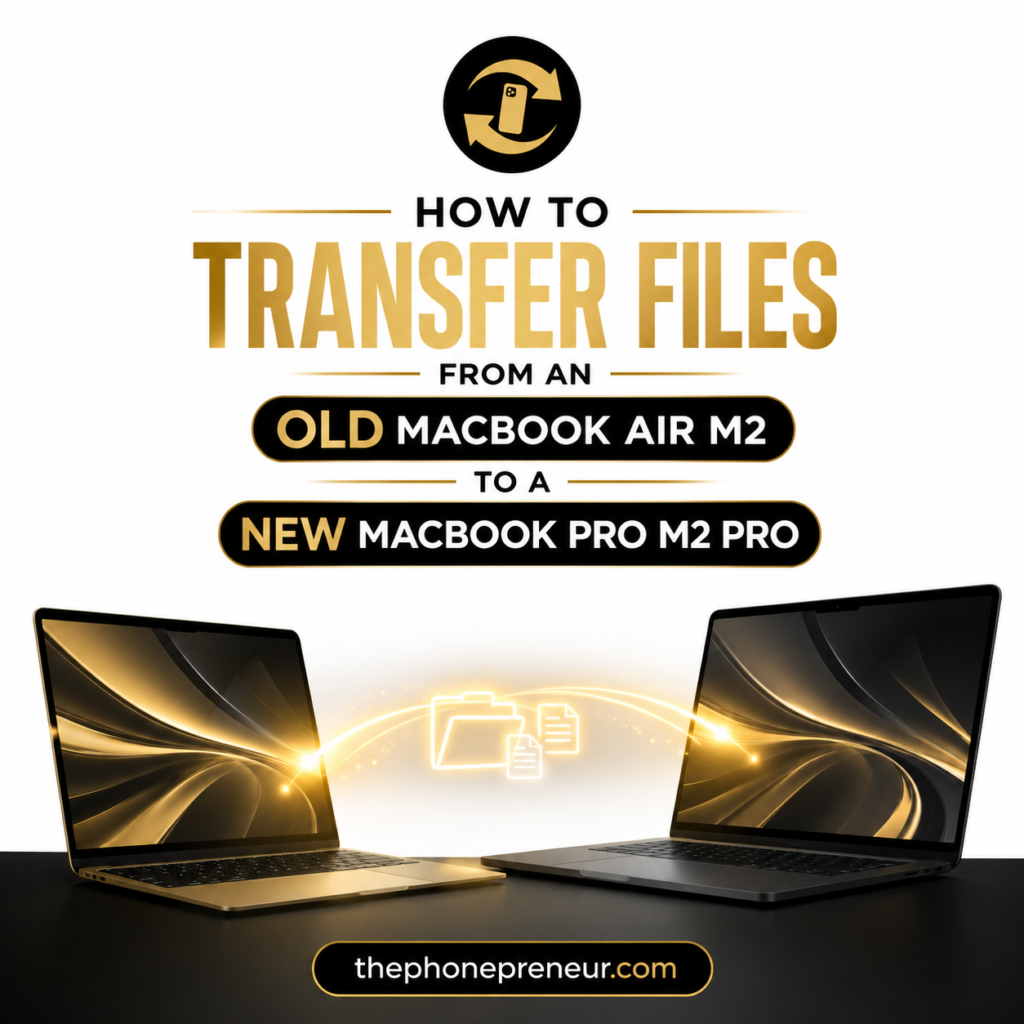
Upgrading from an ultra-portable MacBook Air M2 to the raw power of a MacBook Pro M2 Pro is one of the most rewarding tech upgrades a creative, software engineer, video editor, or business executive in Nigeria can make. Whether you’re rendering complex 4K timeline projects, managing multi-currency accounts, or running e-commerce systems, the M2 Pro chip delivers immense performance headroom.
However, moving hundreds of gigabytes of client data, app configurations, browser profiles, and personal memories from your trusty MacBook Air to your new powerhouse can feel intimidating.
In this comprehensive guide, we walk you through every available transfer method step-by-step so your transition is fast, secure, and stress-free.
Quick Answer: The best and fastest way to transfer all your files, applications, settings, and documents from a MacBook Air M2 to a MacBook Pro M2 Pro is using Apple’s built-in Migration Assistant connected via a direct Thunderbolt cable or shared Wi-Fi network. Migration Assistant copies your complete digital workspace seamlessly without needing manual file copying or app reinstallations.
Why Transferring Your Data Correctly Matters
When migrating to a new Mac, simply dragging files into Google Drive or a flash drive isn’t enough. Executing a proper macOS transfer offers critical benefits:
Zero Data Loss: Preserves obscurely saved files, such as application caches, local downloads, browser bookmarks, system preferences, and email archives, that manual drag-and-drop easily overlooks.
Saves Days of Setup Time: Downloading app installers, re-entering Wi-Fi passwords, and reconfiguring workspace layouts from scratch takes hours. Proper migration moves your entire desktop environment intact.
Protects System Integrity: Using Apple’s native macOS migration protocols guarantees that permissions and system file paths map correctly onto your new M2 Pro machine.
Preserves Keychain & Saved Passwords: Keeps saved network passwords, website logins, and auto-fill details ready for immediate use.
Overview of Available Transfer Methods
Apple offers four main ways to move files from your old MacBook Air M2 to your new MacBook Pro M2 Pro:
| Transfer Method | Speed & Efficiency | Equipment Needed | Ideal For |
| 1. Migration Assistant (Thunderbolt) | ⚡ Ultra Fast (~40 Gbps) | Thunderbolt 3 or 4 Cable | Full system clone, large storage transfers (Top Choice) |
| 2. Migration Assistant (Wi-Fi) | 🐢 Moderate / Slow | Same Wi-Fi Network | Smaller drives or when cables aren’t handy |
| 3. Time Machine Backup | 🚀 Fast (via External SSD) | External Hard Drive / SSD | Users who keep routine offline backups |
| 4. iCloud Synchronization | 🌐 Network Dependent | Active iCloud Subscription & Data | Selective document & media syncing only |
Method 1: Migration Assistant (Recommended Method)
Migration Assistant is Apple’s built-in tool designed specifically to clone your old Mac’s user accounts, apps, settings, and files directly onto a new machine.
Step-by-Step Migration Assistant Guide:
Plug Both MacBooks into Power: Connect both your MacBook Air M2 and MacBook Pro M2 Pro to power adapters. You do not want either laptop entering sleep mode or shutting down mid-migration.
Connect the MacBooks: Either connect both laptops with a high-speed Thunderbolt cable (recommended) or ensure both are connected to the same Wi-Fi network.
Open Migration Assistant on Your New MacBook Pro M2 Pro:
Go to Finder > Applications > Utilities > Migration Assistant (or press
Cmd + Spacefor Spotlight and type Migration Assistant).Click Continue. When prompted, enter your Mac admin password.
Choose How to Transfer Information:
On your new MacBook Pro, choose “From a Mac, Time Machine backup, or startup disk” and click Continue.
Set Up Your Old MacBook Air M2:
Launch Migration Assistant on your old MacBook Air.
Select “To another Mac” and click Continue.
Pair Both Devices:
Your new MacBook Pro will detect the MacBook Air. Click on the icon representing your old MacBook Air.
A security passcode will display on both screens. Confirm that the codes match and press Continue.
Select the Data to Migrate:
You will see a list of transfer categories:
Applications (Your installed programs like Photoshop, Premier, Office, Chrome)
User Accounts (All your Documents, Downloads, Desktop files, and account settings)
Other Files & Folders
System Settings & Network (Saved Wi-Fi networks, Bluetooth pairings, wallpaper)
Start the Transfer:
Click Continue to start the process. Depending on data volume and connection method, this will take between 15 minutes to an hour. Once completed, restart your new Mac and log in with your existing password!
Method 2: Transferring via Thunderbolt Cable (Fastest Option)
If you have 250GB, 512GB, or 1TB of data to move, Wi-Fi transfers can encounter bottlenecks or slow down during large transfers. Direct Thunderbolt cable transfer is by far the fastest option available on Apple Silicon.
💡 Pro-Tip on Cables: Do NOT use the thin white charging cable that came in the MacBook box! That cable is designed primarily for power and transfers data at slow USB 2.0 speeds (480 Mbps). Instead, use a genuine Thunderbolt 3 or Thunderbolt 4 Cable (distinguished by the lightning bolt logo on the plug heads). This enables physical data transfer speeds up to 40 Gbps (up to 3,000 MB/s), moving huge video projects in minutes!
Method 3: Using Time Machine Backup
If you regularly back up your old MacBook Air M2 to an external SSD or hard drive using Apple’s Time Machine utility:
Connect your external backup drive to the new MacBook Pro M2 Pro using a USB-C cable or adapter.
Open Migration Assistant on the new MacBook Pro during setup.
Select “From a Mac, Time Machine backup, or startup disk”.
Select your external drive and pick the most recent snapshot.
Click Continue to restore your workspace directly from the backup drive.
Method 4: Using iCloud Sync (Clean Install Approach)
If you prefer starting fresh without old app junk or cached system files, you can rely on iCloud to pull down your essentials:
Power on your new MacBook Pro M2 Pro and sign in with your Apple ID.
Go to System Settings > [Your Name] > iCloud.
Enable iCloud Drive, Photos, Contacts, Calendars, Safari, and Passwords & Keychain.
Your documents and photos will automatically sync over the background as long as you are connected to the internet. You can then download fresh copies of only the apps you currently use.
What Users Should Expect After Migration
While Migration Assistant does an incredible job copying your digital environment, Apple’s high security standards require a few post-migration authentication steps:
App Re-authentication: Security-focused apps like Microsoft 365, Adobe Creative Cloud, WhatsApp Desktop, Slack, Zoom, and Dropbox will require you to log back into your accounts.
Pro Software Licenses: Paid creative tools (such as Logic Pro, Final Cut Pro plugins, screen capture software, and developer tools) may prompt you to enter your license keys or re-verify through their respective license managers.
Touch ID Setup: Biometric fingerprint data is stored securely in the device’s hardware Enclave and does not transfer. You will need to re-register your fingerprints under System Settings > Touch ID & Password.
Apple Wallet & Cards: Credit and debit cards saved in Apple Pay will need to be re-entered and authorized via SMS/Banking OTP for safety.
Terminal & SSH Keys: If you are a developer, check your SSH keys and environment variables in Terminal to ensure file permissions are updated.
Our Recommendation: What is the Best Method & Why?
The Phonepreneur Recommendation: Migration Assistant via Thunderbolt Cable.
Why?
It provides the ultimate combination of speed, simplicity, and complete data safety. You won’t waste valuable internet data or time re-downloading huge application installers, you won’t lose saved workspace preferences, and the 40 Gbps physical connection eliminates network dropouts during transfer.
Looking to Upgrade Your Tech in Lagos? Talk to The Phonepreneur!
If you are currently looking to upgrade and want to ensure your next device is a true long-term asset rather than a short-term regret, reach out to our team or walk into any of our Lagos outlets. We are here to help you make a choice that you’ll still be completely in love with years down the line.
Get in Touch With Us
At The Phonepreneur, we make it incredibly easy to level up your mobile experience. We sell, we swap, we repair, and we deliver nationwide! If you prefer a hands-on experience, you can also opt for physical pick-up at our locations.
Drop by Our Walk-In Stores in Lagos
Don’t wait until your current phone or laptop gives up entirely. We welcome serious buyers to visit our physical walk-in stores in Lagos for instant swaps, expert repairs, or to browse our latest premium inventory:
Shop 1: 2 Pepple Street, Mokland Plaza, 1st Floor Right Wing, Opp. Zenith Bank, Computer Village, Ikeja, Lagos.
Shop 2: Shop 4C, 4th Floor, Mokland Plaza, 3–9 Olu Koleosho Street, Off Simbiat Abiola Road, Computer Village, Ikeja, Lagos. (Landmark: Mokland Hotel; street opposite New Slot, Medical Road).
Reach Our Team Instantly
Have questions about a phone/MacBook swap, need a quick screen repair before the next big game, or want to lock in a new device? Reach out now:
Call / WhatsApp: 08106360694 | 08146321691
Instagram: @the_phonepreneur
TikTok: @thephonepreneur
Discover more from The Phonepreneur Global
Subscribe to get the latest posts sent to your email.