March 13, 2026
Android
|
Smartphones
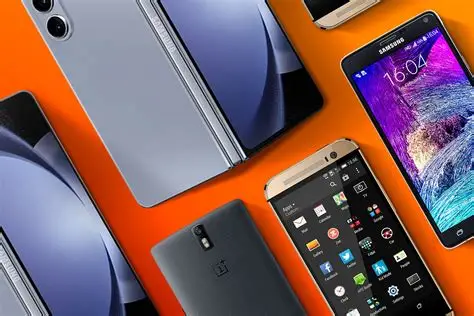
5 Best Phones Under ₦200,000 in Nigeria (2026)
March 6, 2026
Uncategorized
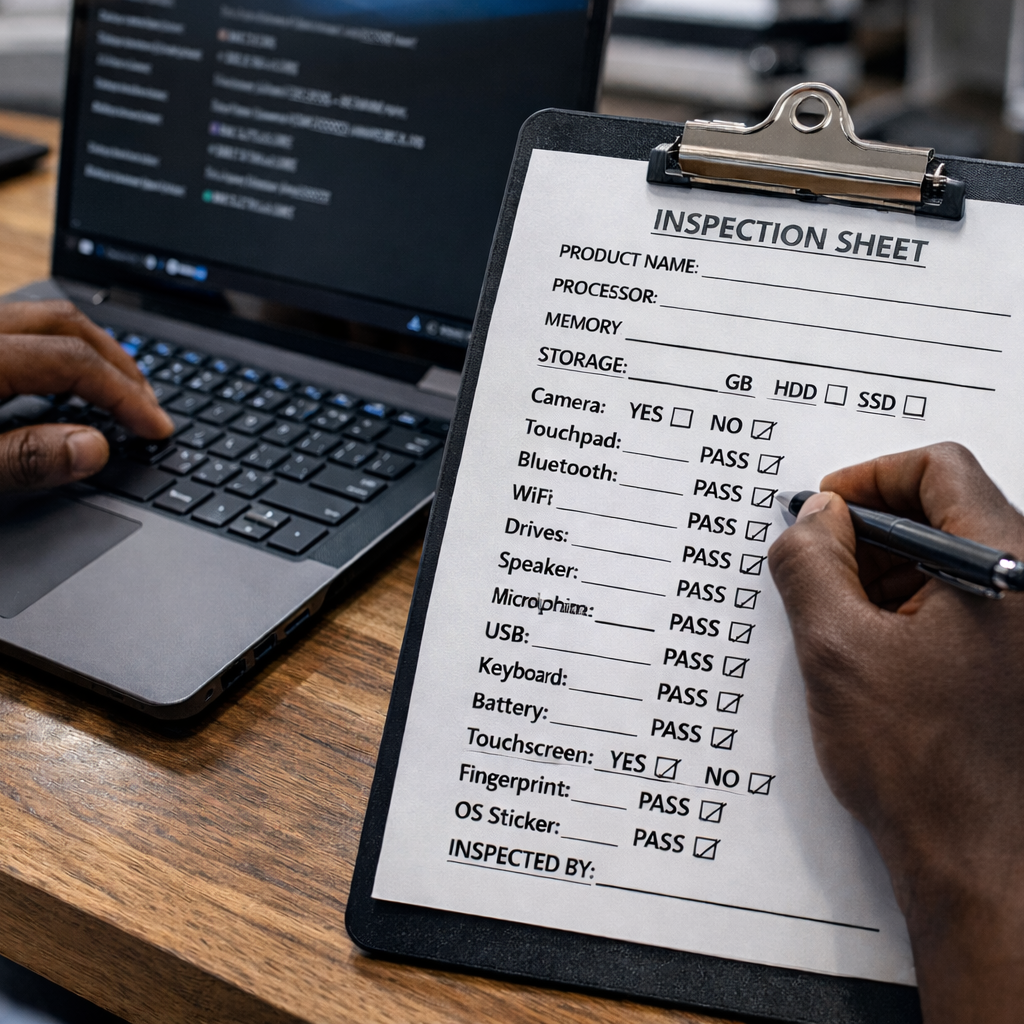
How to Properly Test a Laptop Before Buying
March 3, 2026
Android
|
Smartphones
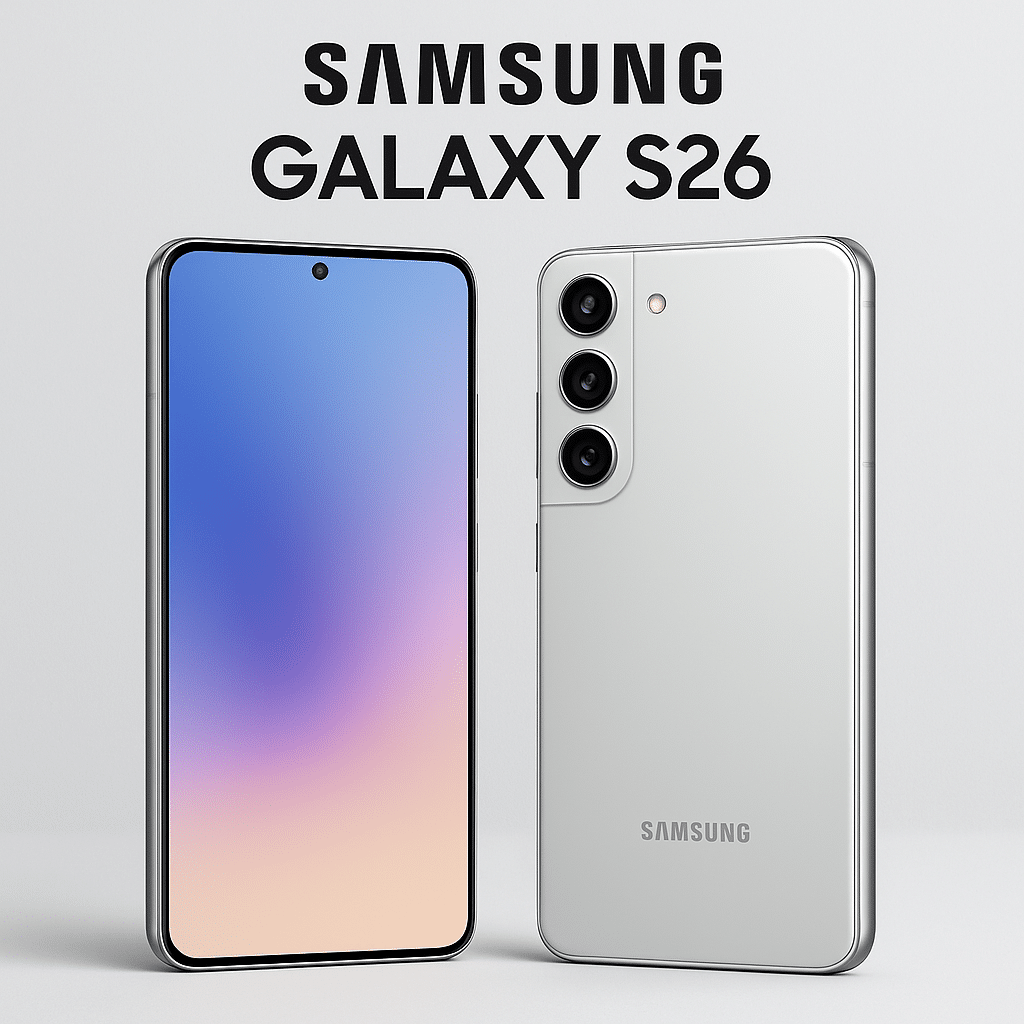
Why the Hype About the Samsung S26 Series?
February 26, 2026
Speaker
Where to Buy Original Zealot Speakers in Nigeria
February 24, 2026
Laptops
Dell Latitude Series Now Available | New Stock Alert!
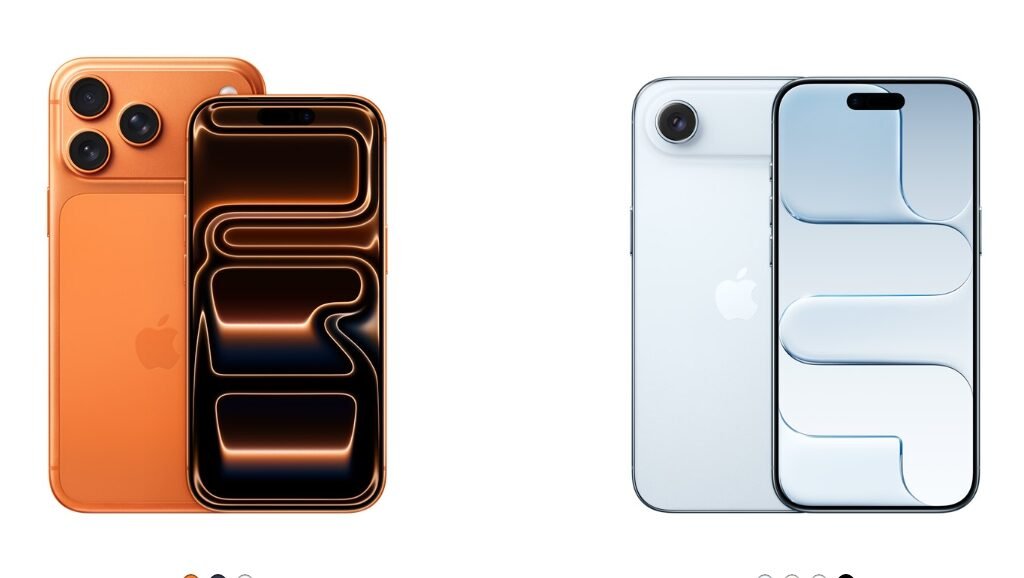
February 20, 2026
Uncategorized
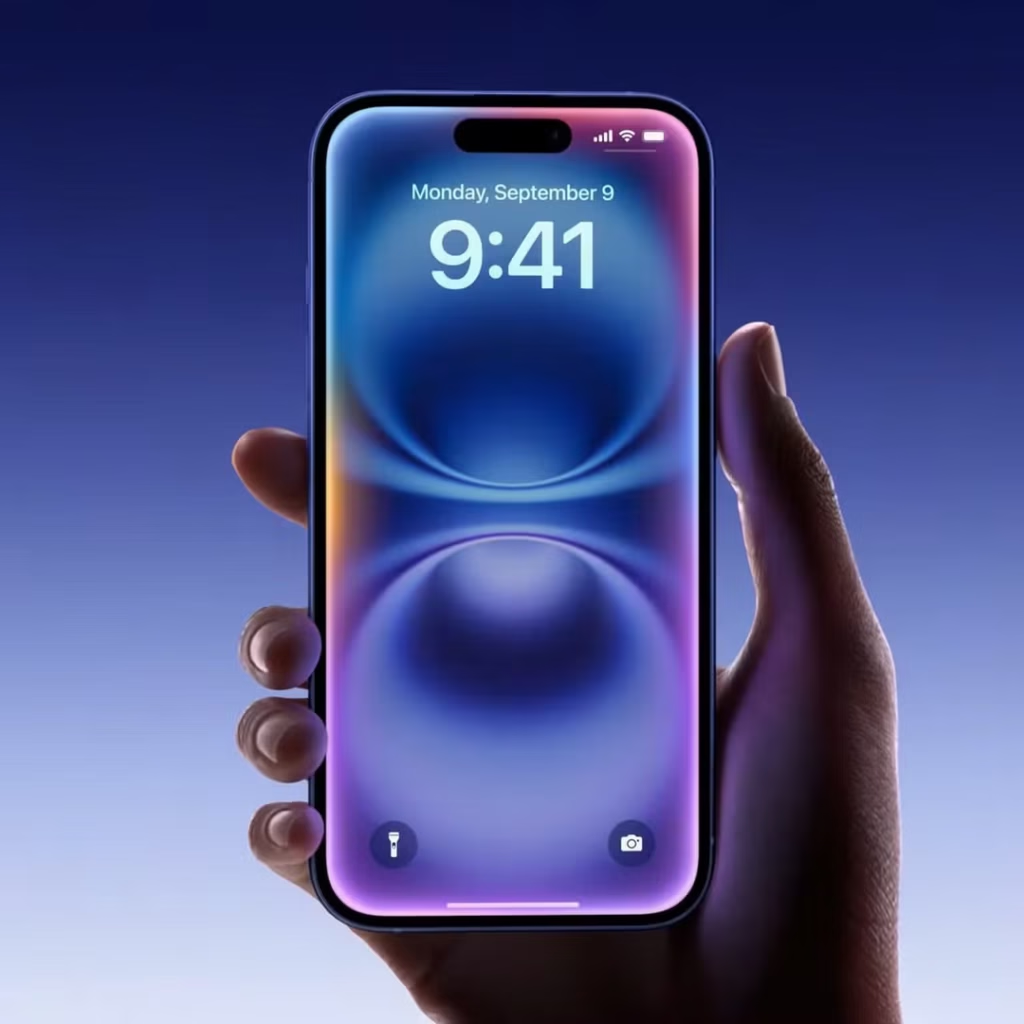
iPhone 16 Price in Nigeria | A Smart Time to Buy
February 17, 2026
Android
|
Artificial Intelligence (AI)
|
Smartphones
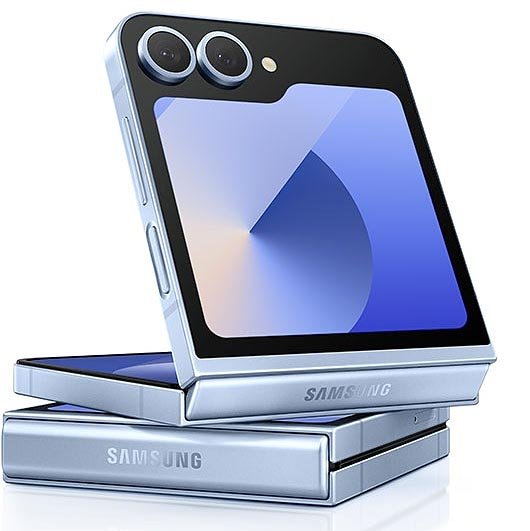
Samsung Galaxy Z Flip 6 Price in Nigeria
February 12, 2026
Smartphones
|
Tips and Tricks
Common Phone Advice That Is Actually Wrong
February 10, 2026
Apple
|
iPhones
|
UK Used
New Week Phone Deals in Computer Village Ikeja at The Phonepreneur
February 6, 2026
Uncategorized
Will You Be Our Valentine at The Phonepreneur?
February 3, 2026
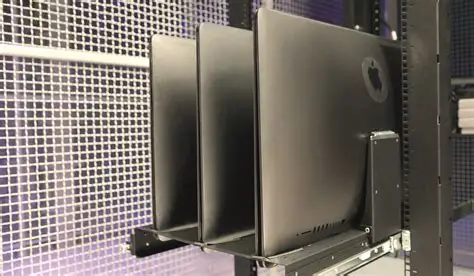
Apple
|
Computers
|
Laptops
|
Macbook
Get a MacBook Today Without Paying Big- Hurry!
January 30, 2026
Uncategorized
iPhone 17 Price in Nigeria: Full Breakdown by Model & Storage
Prices listed on our website are subject to change without notice. Please confirm final pricing before purchase.
0
0
Your Cart
Your cart is empty
Return to Shop
message us